If you're anything like us, you definitely understand the value of (and probably can't resist) dressing up your pup in the cutest accessories. It can feel almost too easy to rack up a bill buying your fur baby the cutest fashion accessories. So that's exactly when DIY dog accessories come in handy!
And what’s more adorable (and affordable) than a DIY dog bandana? Whether you’re prepping for a themed photoshoot, a birthday, or just want your dog to look extra fabulous for their walk around the block, a bandana is the perfect touch.
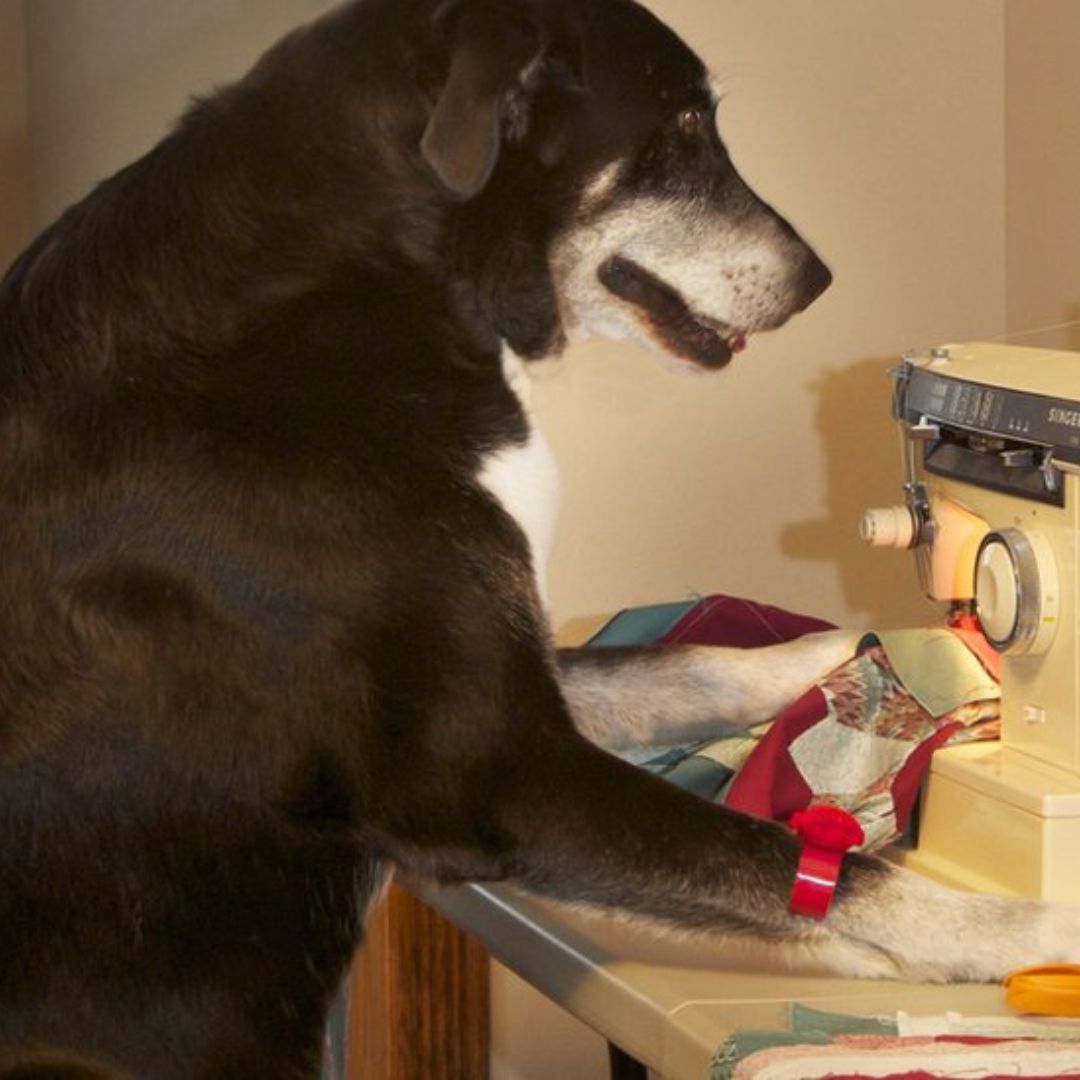
Here’s the best part about this guide: you don’t even need a sewing machine for this project! This blog post will show you exactly how to make dog bandanas with minimal effort and maximum cuteness. So grab your materials, a cup of coffee, and let’s get crafty!

What You’ll Need
Before we dive in, here’s your shopping list:
- A square piece of fabric (cotton works best!)
- Fabric scissors or pinking shears (to prevent fraying)
- Measuring tape
- Optional: Iron-on patches, fabric glue, or decorative trims for customization
You can find affordable fabric at craft stores, dig through your local Buy Nothing group or you can upcycle an old shirt or scarf for something unique.
Step 1: Measure Your Pup
Start by measuring your dog’s neck to make sure the bandana will fit comfortably. Add a couple of extra inches to account for tying the knot. A good rule of thumb:
- Small dogs: 14” x 14” square
- Medium dogs: 18” x 18” square
- Large dogs: 22” x 22” square
If you’re unsure, it’s always better to go a little bigger—you can always trim it down later.

Step 2: Cut the Fabric
Lay your fabric flat and cut it into a perfect square. If you’re aiming for a polished edge, pinking shears are your best friend. These zig-zag scissors prevent fraying and keep your bandana looking extra neat.
Step 3: Fold Into a Triangle
Fold your fabric square diagonally to create a triangle. This will be the basic shape of your dog’s bandana.
Pro Tip: Want to avoid bulk? Trim the tip of the triangle slightly so it doesn’t bunch up around your dog’s neck.
Step 4: Add Personal Touches
Here’s the part where you can let your creativity shine! Use fabric glue to attach iron-on patches, pom-poms, or decorative trims. You can also tie-dye your fabric for a fun, colorful look.
Pro Tip: Add your dog’s name with iron-on letters for a personalized touch.
Step 5: Tie It On!
Gently tie the bandana around your dog’s neck. Not too tight! You should be able to slip two fingers between the bandana and your pup’s neck for comfort. Fluff out the knot, step back, and admire your handiwork! You did it!
Looking for other cute and stylish pet accessories?
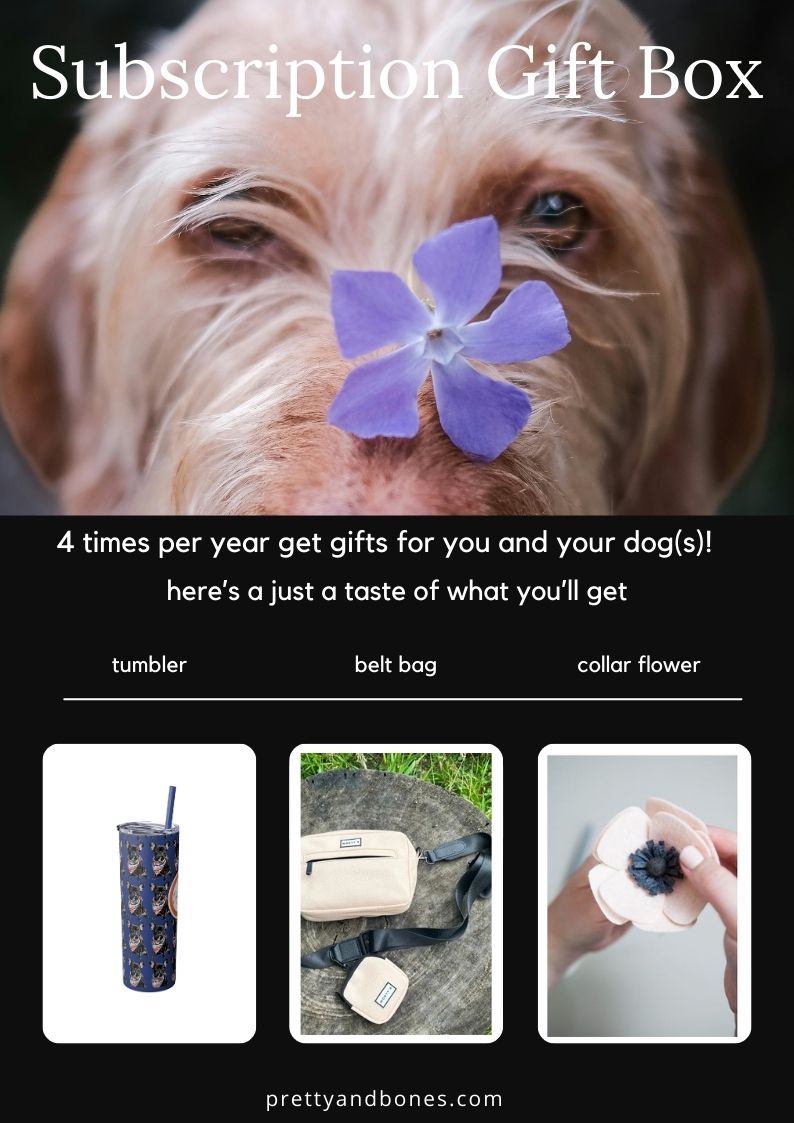
If you love the idea of a cute dog bandana but don’t have time to DIY, we’ve got you covered. At Pretty & Bones, we have a curated collection of stylish dog accessories that’ll make your fur baby the talk of the dog park.
Whether you’re looking for collars, harnesses, or something else to spoil your pup, we’ve got just what you need! Take a look at our newest bandanas